Object storage gives you the flexibility to scale and configure it on multiple servers and websites. We will configure Object Storage with WordPress using Vultr. You can configure Object Storage provided by other providers as well. We will offload the images which will improve the website performance, consume a lesser amount of hosting bandwidth & enable CDN for images.
Creating Object Storage in Vultr
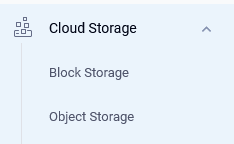
Login to your Vultr account OR sign up with them. Once you are logged in, access the option Object Storage in the left pane as in the image below.
Select the location and label the storage. The location should be near your server & the visitors.
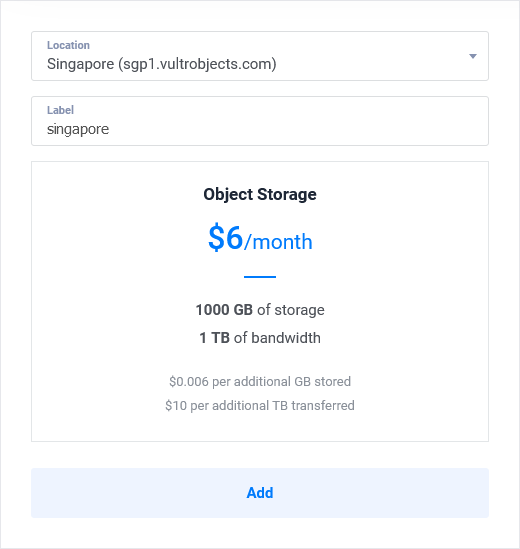
Object storage would be ready in a few seconds. Once it is, click on the Edit tab

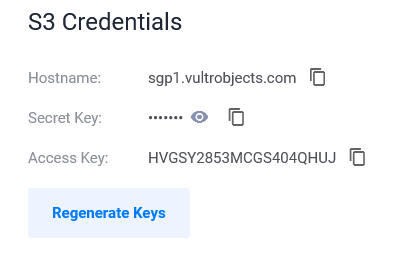
You will get to see the S3 Credentials. Kindly note them and keep them safe. Make sure none other than you has access to it. Even if you forget OR delete them, you can log in to Vultr and retrieve them.
Now, that the storage is ready and you have the S3 details, let us configure the bucket. The Bucket is nothing but the folder/directory where the uploaded images will be stored.
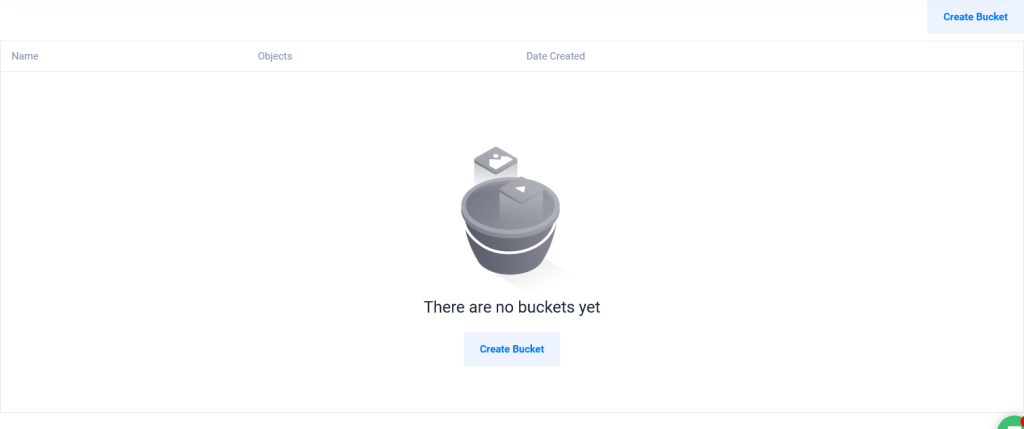
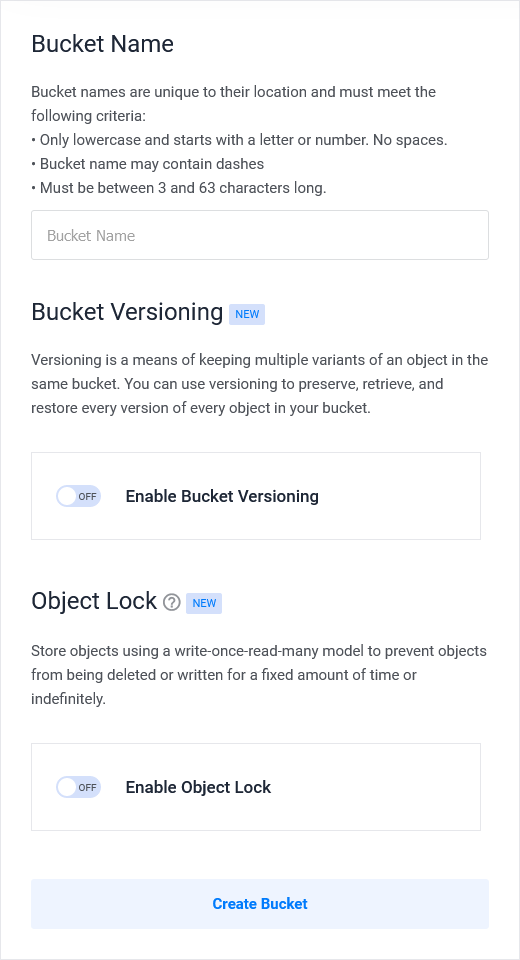
Click on the Create Bucket button as in the image above. Give a Bucket Name that is easy for you to recognize. It can be your project name OR website name. You can Enable the options Bucket Versioning & Object Lock by clicking on the toggle button.
Bucket Versioning is a means of keeping multiple variants of an object in the same bucket. You can use versioning to preserve, retrieve, and restore every version of every object in your bucket.
Object Lock stores objects using a write-once-read-many model to prevent objects from being deleted or written for a fixed amount of time or indefinitely.
Click on Create Bucket.
Configuring Object Storage in WordPress
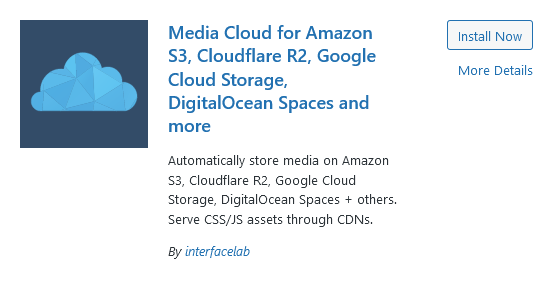
Now that your Object storage is created and ready to use, you will have to configure it from WordPress admin dashboard. Login to your WordPress admin dashboard. You will need to install a plugin to communicate with your Object storage. Click on Add New Plugin and search for media cloud. Click on Install Now and Activate the plugin.
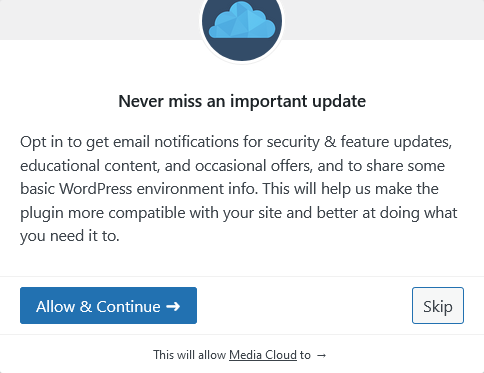
As soon as you activate the plugin, the window to configure will open. Click on Skip.
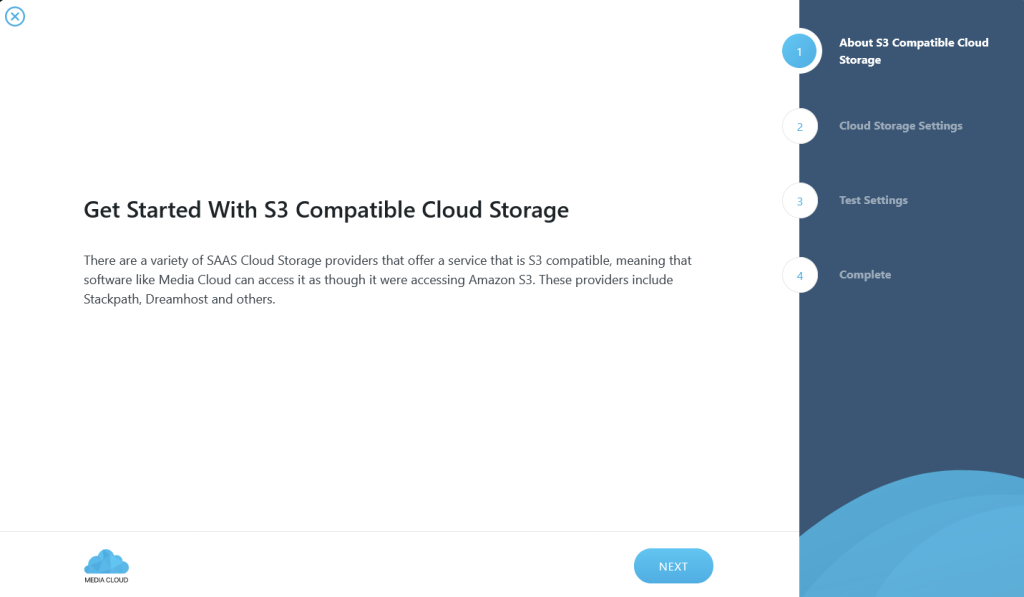
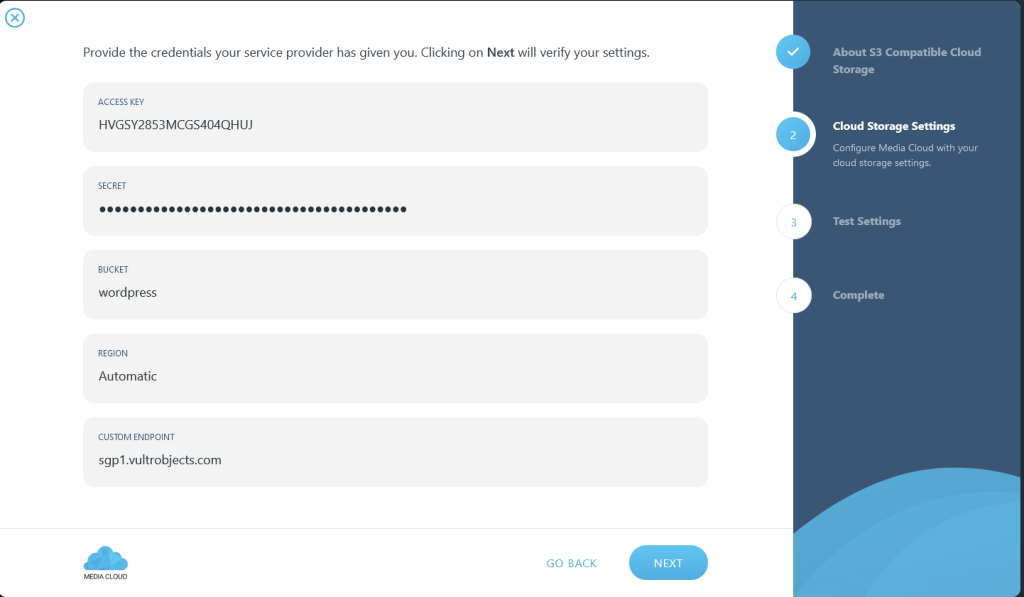
You will be shown the Setup Wizard. Select the S3 Compatible storage option and click on Next.
Enter the details Access Key, Secret, Bucket Name, Region and Custom Endpoint. You will get these details from Vultr dashboard. Here is what it should look like. Once you fill the required details, click Next.
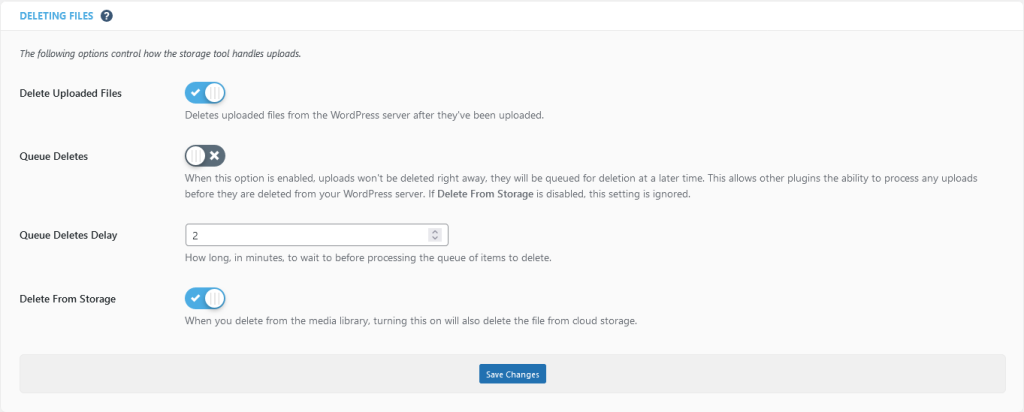
It will then process the details and perform the required Test. Click Finish once the tests are complete. Here is how you have configured your WordPress to use Object Storage. You will have to configure primary settings in the plugin. Access Media Cloud >> Settings and jump to the Section Deleting Files. Configure it as below depending on your requirements.
Now, to test if your WordPress is actually using the Object Storage, upload an image in your WordPress Media Library. In the File URL, you will see the Vultr Object Storage endpoint URL.